FInally, the long awaited Clear Creek Project (by me at least) has begun this week. I tried out several different designs, in different sizes, to see which would work best for my situation, and as it turns out, the most compact design was the first one, where each module is built to have all buildings, trees, and tall objects removed and packed into boxes. So that is the design I settled on. I also settled on Forks Creek, which I will talk about in different posts, as the starting point for the railroad. Essentially, Forks Creek is a junction where the mainline up Clear Creek could go up the North Fork to Black Hawk, or the South Fork to Georgetown and Silver Plume. This little piece of the road saw a lot of traffic. What really makes Forks Creek a good starting point for a compact Fn3 scale layout is that Forks Creek was at the bottom of a steep canyon that was very narrow. So narrow that the buildings built along the track overhung the river. The only change of the track arrangement I'm doing is adding a spur so that I can have switching operations. I also have hte opportunity for a tunnel and bridge in later modules.
Anyway, here is Today's construction progress:
 I started with a 1x2 frame, which was cut to have an overall outer dimension of 24 inch by 72 inch. This was then glued to a 1 inch thick sheet of foam board, weighted down and clamped tight for around 30 minutes.
 I then cut the 1 inch thick foam board to size so that it was flush with the lumber frame. As can be seen, I have not added any endplates yet, or a fascia. Those will come after the final shape of the module has been finalized and I'm able to cut lumber and fill gaps between where the fascia will be joined to the module.
 I then proceeded to use a 2 inch thick piece of foam board to be the sub-scenery base. SInce hte tracks followed a river, this will be cut to allow a river channel along the section.
 The passenger car is an LGB model that I'm using as a standard car size. Technically, the car is 1:22.5 scale, but I will be using very small 1:20.3 size equipment, so clearances will be about the same. This particular section will have one turnout, having a spur serving the station, guard shack, office, and freight building and the other acting as the mainline.
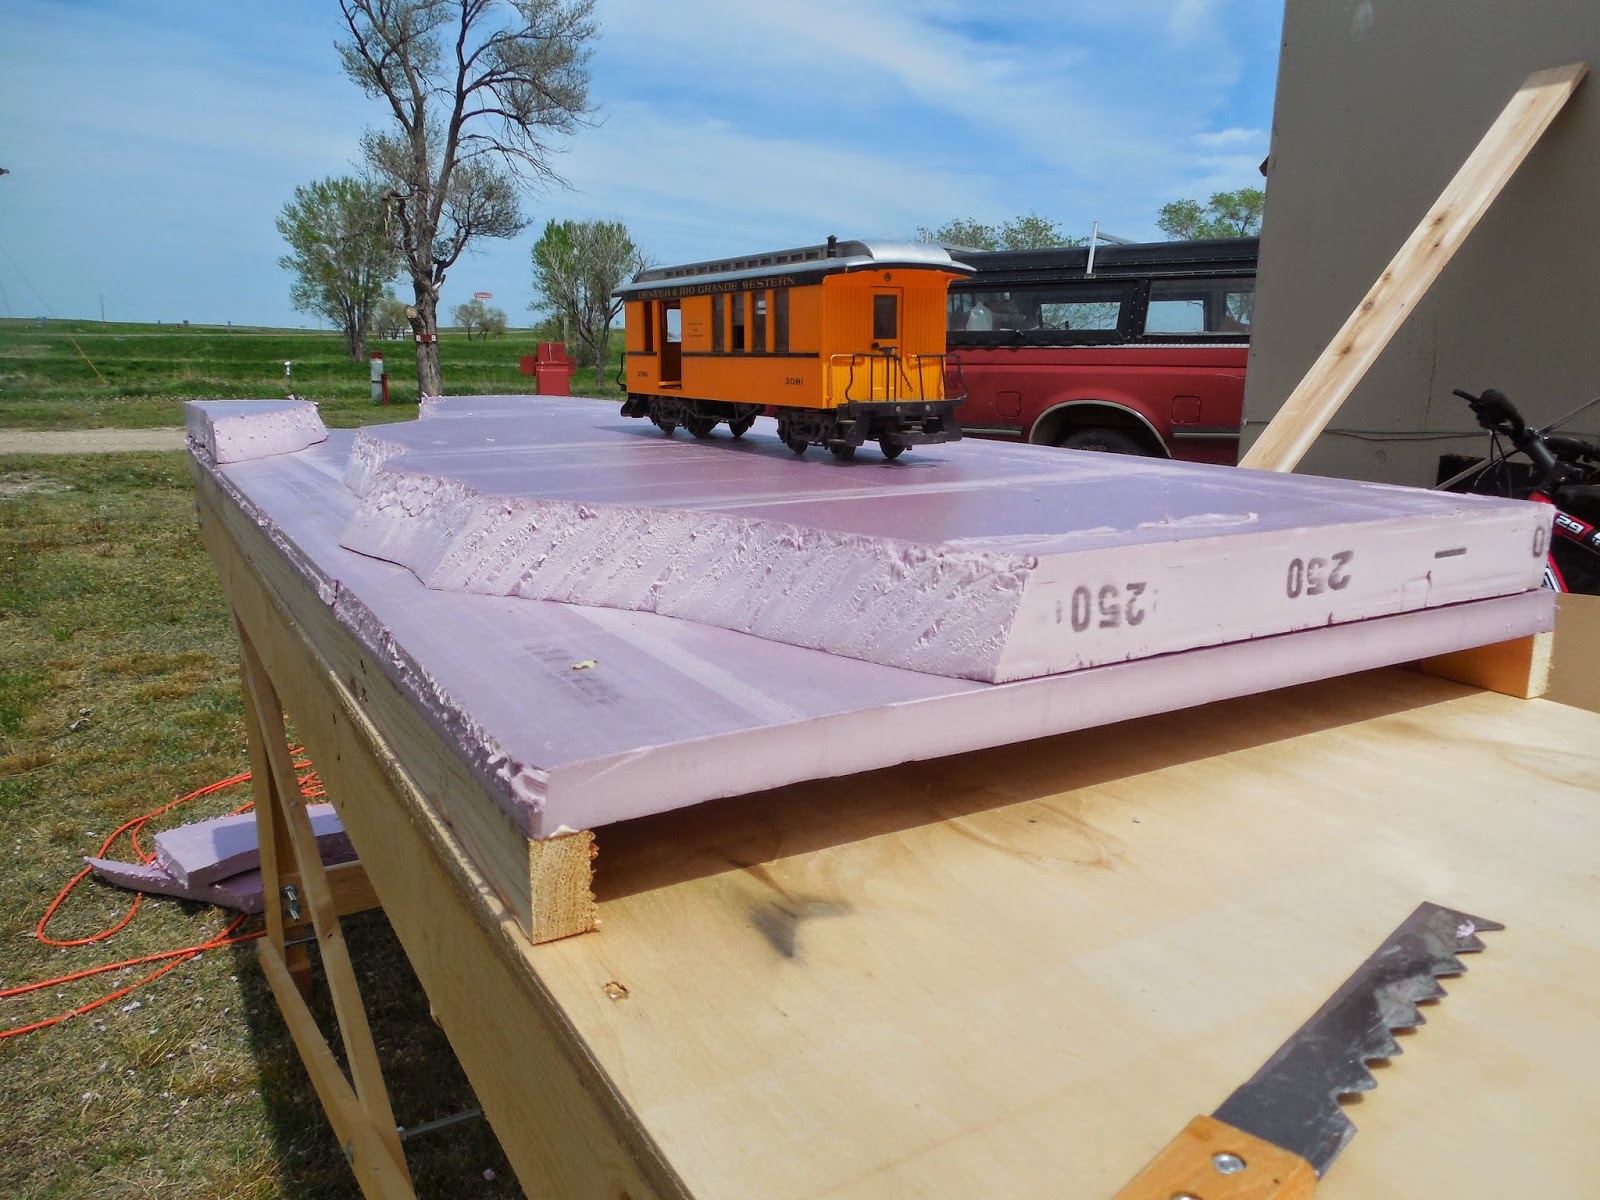 The route of the river was carved out of the top layer of foam, keeping in mind track clearances and allowing room for the buildings.


 And using extra pieces of foam, I built up bot h sides of the river to hint at this being in a valley. I will need to do a backdrop of some sort that gives the feeling this section is at the bottom of a river canyon. Perhaps a textured backdrop? More on that in future updates.
 And that pretty much sums up my day's work. Next update, I'll look at building sizes and will be drawing up ideas for the buildings to be used on this section. I may also put together the framework for another module. The foam has been sitting in the back of my pick up for the last two weeks, so I need to use it and make room for other things.
Anyway, here is Today's construction progress:


