I'm a firm believer that if you want to capture a certain area correctly, you must do research. As I've progressed in my modeling studies, I've found myself increasingly dependent on maps, charts, and other websites which don't say much about the railroads themselves, but rather thoroughly explain what the terrain looks like, the plants and animals which live in the area, how wind and water shapes the land plus, but less importantly, the geology of the land. When I mean geology, I'm not talking about statistics, numbers, important points, and research conducted by geology professors who old PhD's. but rather simply what types of rocks are present.
How do all these things relate to the model? Well, just as there exists prototype information about the railroads, towns and other man made masterpieces; there also exists a vast wealth of information of the land, a sort of natural prototype information is what is needed. Why you ask, because knowing what the land looks like, what trees grow there, what rocks can be found there, even what animals inhabit the area help a modeler capture the feel and the area being modeled. Think of it this way, you don't model North Dakota with towering mountains, but you also don't model Washington State with no trees. This is an extreme example, but my point lies there.
So if I am to capture Colorado, specifically Clear Creek county, I will need to look at the natural features of the area.
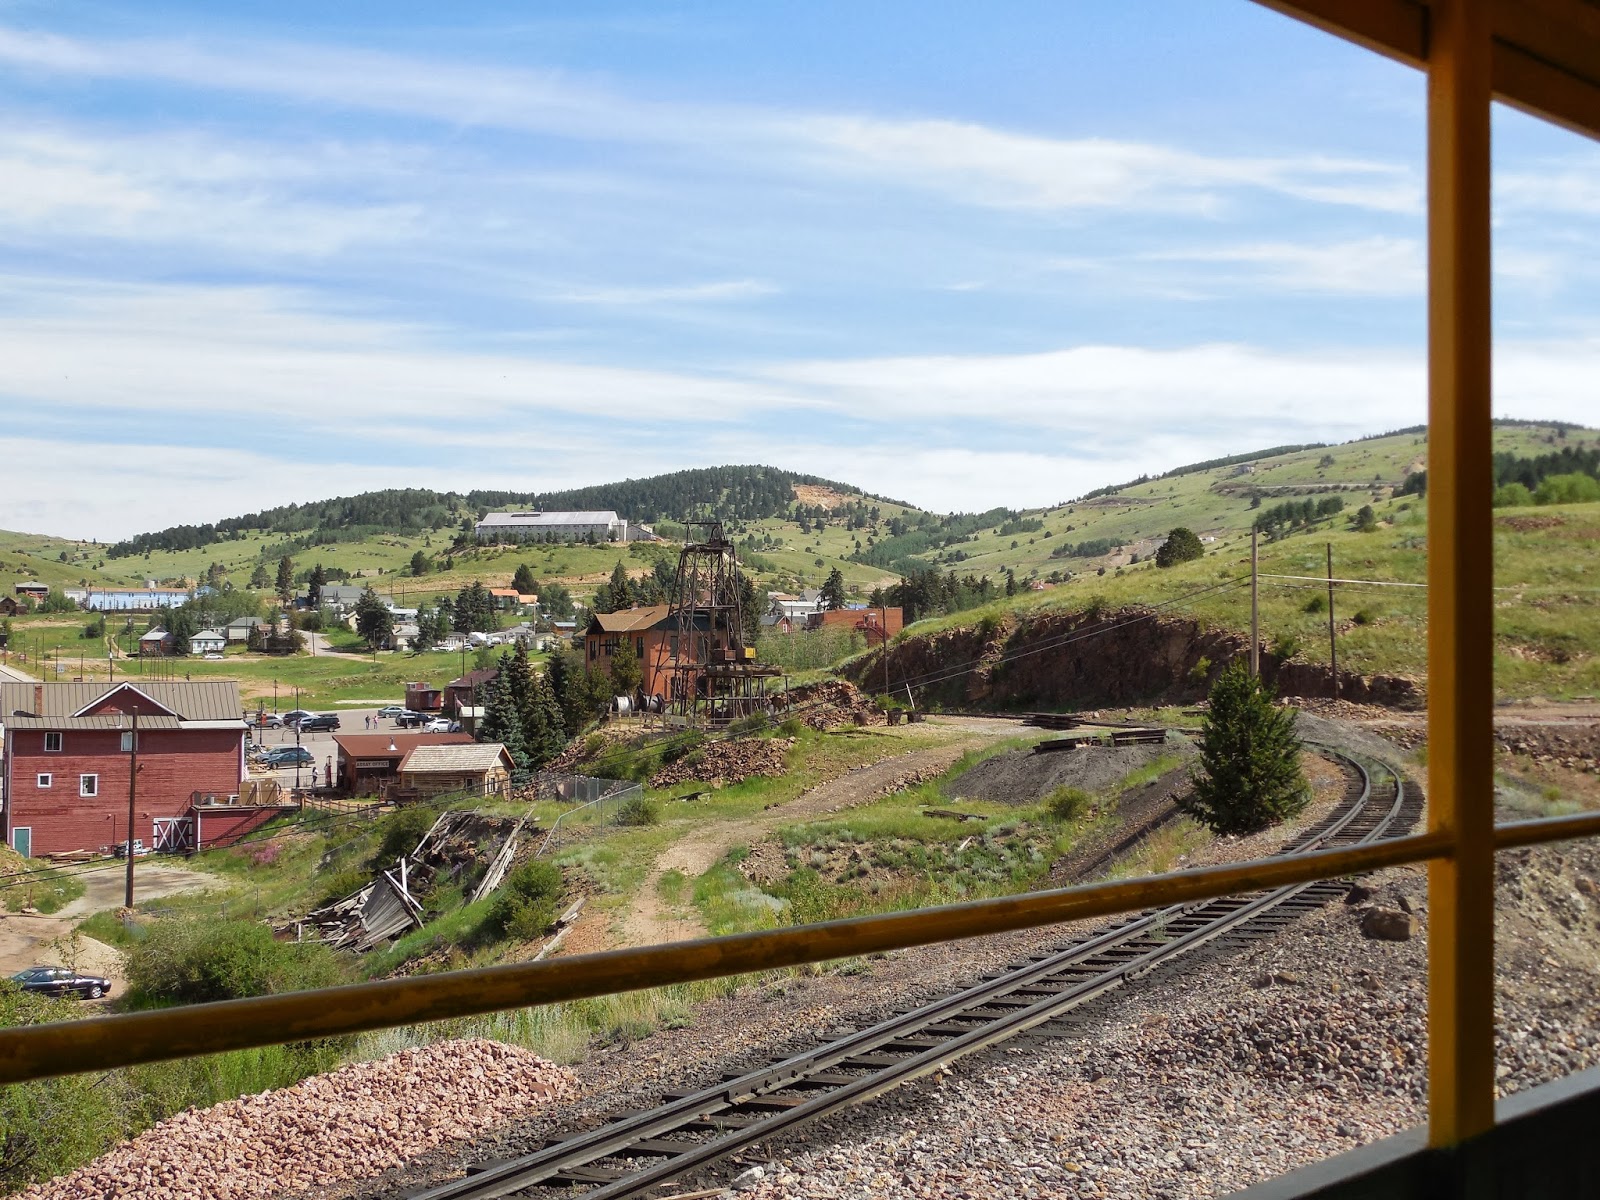
- Terrain in Clear Creek is generally steep mountains made of igneous rock (granite type rock) with some sedimentary in areas. Valley floors with generally be strewn with large rock debris in all sizes, however some silt will still exist, coming from the annual spring melting. Moving closer to the continental divide, the rocks become newer, sharper, and have less top soil.
- Near the top of the canyon by Georgetown, clear creek is broken into three tributaries in addition to the creek; clear creek runs southwest before continuing straight west to the divide, the West Fork will continue straight west running parallel to Clear Creek, but to the north, Bard Creek sits in between the two in it's own small valley.
- Major plant species to be in the area will include various bushes, but evergreen trees (a mix of fir, pine, and spruce with the occasional juniper or cedar) inhabit the steep slopes. Joining the bushes by the water, small stands of Aspen trees exist. since aspen roots are interconnected, stands of aspen can start near water, but will ranch up the slopes a ways. For slopes which face the sun (generally southfacing) the terrain is less populated by trees and more by meadows with flowers in the summer months.
- Animals aren't really that important for the landscape, but if I were to include some animals in the more wild parts of the layout, black bear cougar, Rocky Mountain Elk, and a bison or two would be my choice. In addition, squirrel and chipmunk plus raccoon and skunk can make appearances in the towns modeled. And of course, people are in the town too!
So what I have to model are steep slopes with flowers where there would be sun, and dense forest in the shade or where a lot of water may come through. If near the creek, boulders with some silt will be in and around the creek, making the perfect habitat for a variety of bushes and shrubs, but Aspen will dominate that area. Towns are usually near water, so most towns depicted will be only a few feet fro water on the model. Mines may be all over the slop of the mountain, and so miner's cabins along with the supply stores and the mines themselves will be among the tall stands of evergreen trees and the alpine grasslands near the very top of the canyon. The bottom of the canyon will generally be a very tight and steep climb, but the top will be more open and leisurely.
Where do I get this information? To start with, here is a map of the region:

Image taken from the Department of the Interior website.
However there is also plenty of other useful information besides just a map:
- http://www.clearcreeklandconservancy.org/photography.html This is the Clear Creek land Conservancy website. Looking around, I found all the information I needed.
With these two sources, nearly everything I need to know about the landscape, plants, animals and water are now known and noted on this blog.